Softprobe Dashboard User Guide
Welcome to Softprobe Dashboard. This guide helps you quickly understand the interface, manage tenants and members, and operate key features consistently.
Overview
Dashboard
Tenants
Members
🚀 Quick Start
1. Registration & Login
- Visit the homepage and click “Sign Up” (top right)
- Enter email and password, complete email verification
- Log in to start using the system
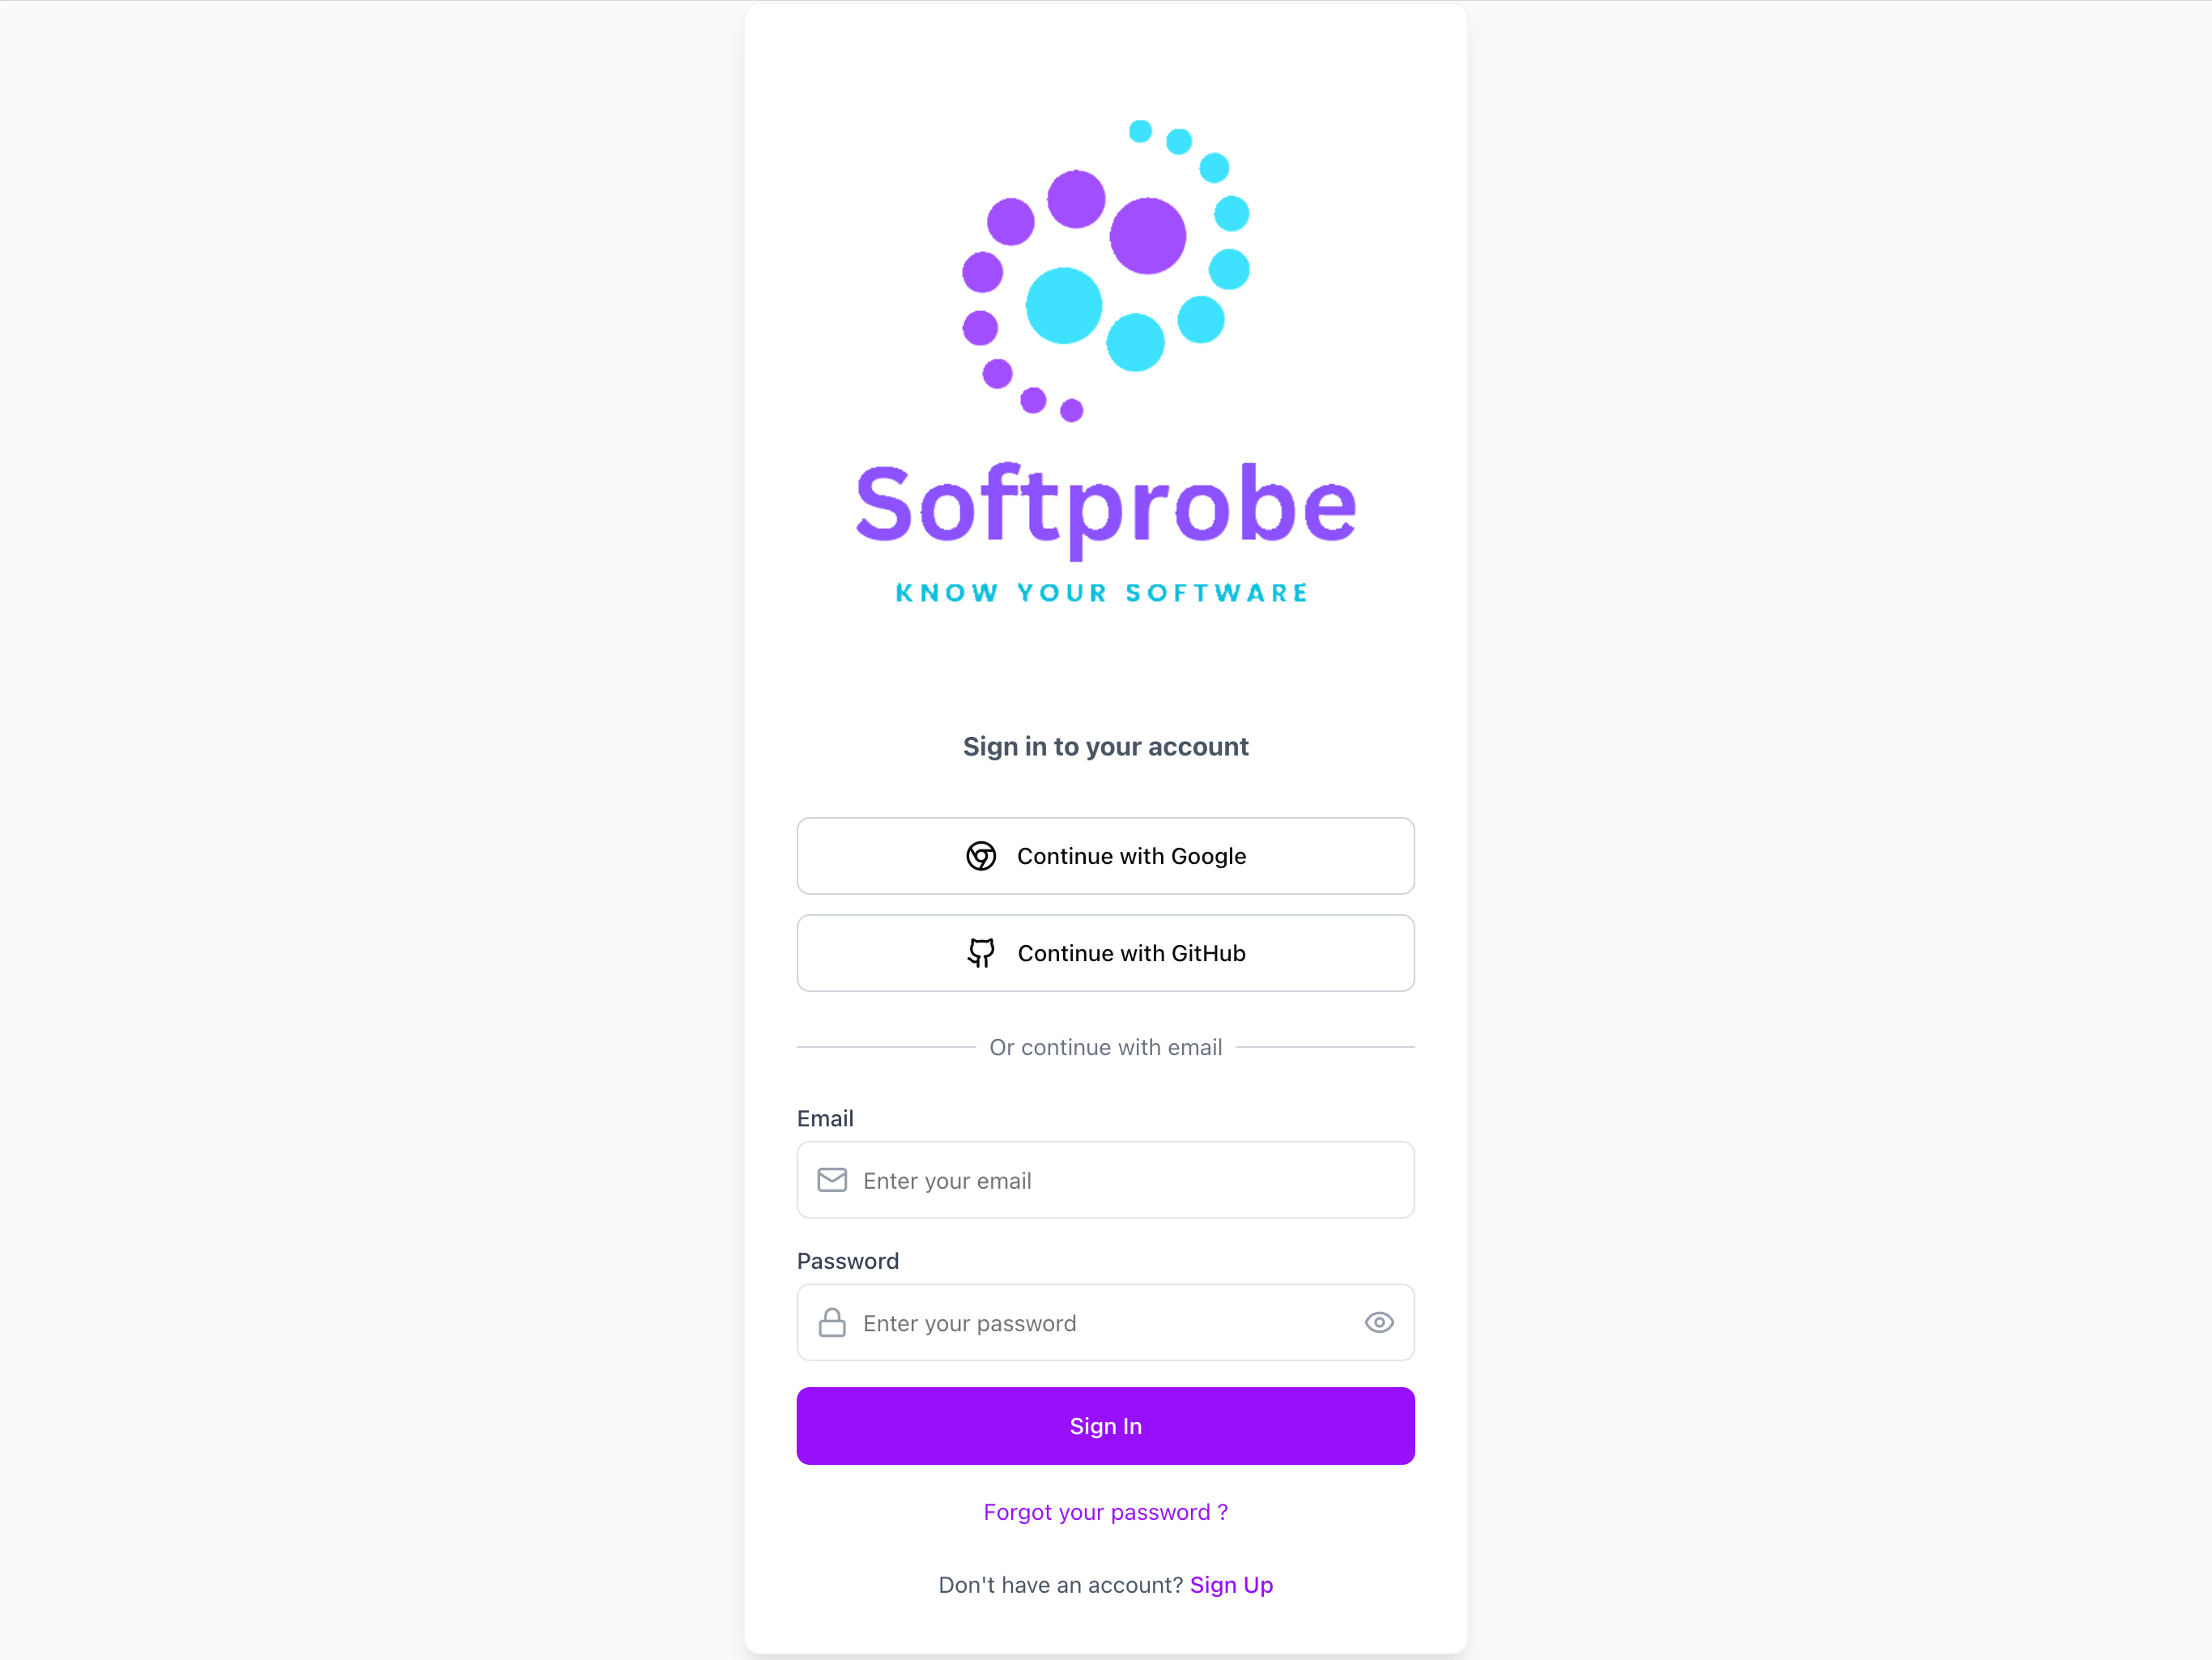
Sign up to create your account and start using the Dashboard.
TIP
Account setup and public key management are covered in the Account Setup Guide.
2. Interface Overview
After logging in, you will see:
- Left Navigation: Quick access to modules
- Top Bar: User info and tenant switching
- Main Area: Operational interface for current module

Main interface layout with navigation, top bar, and operational area.
📊 Core Features
1. Dashboard Homepage
Real-time monitoring of core system metrics
Data Overview Cards
- Database Usage: Current storage usage (GB), usage percentage, color indicators
- Data Entry Statistics: Total records, filter by time range, historical comparison
- Session Statistics: Active sessions, total sessions in selected period, trend charts
- Performance Metrics: Average response time, P95 metrics, system health indicators
TIP
For end-to-end user journey correlation, install the SESSIFY on your frontend and propagate sessionId through your service mesh.
Operations
- Data loads once on page entry (no auto-refresh)
- To update: switch time range, switch tenant, or refresh page
2. Tenant Management
Resource isolation and management in multi-tenant environments
Tenant Switching
- Use the tenant selector in the top bar (search and filter supported)
- Click target tenant to switch
- Create new tenant via “+” button and fill basic info
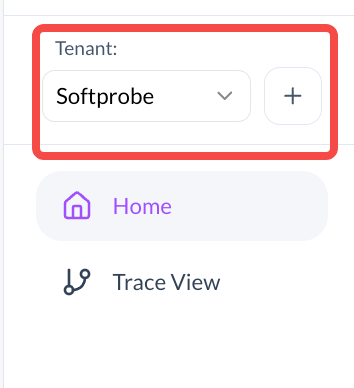
Create and switch tenants for environment isolation.
Tenant Settings
- Basic info: name, description, icon
- Member management: add/remove, roles and permissions
- Public keys: create/manage keys and validity
- Danger zone: delete tenant, export backup, clear data
3. Team Member Management
Permission control and collaborative management
Add members and assign roles for safe collaboration.
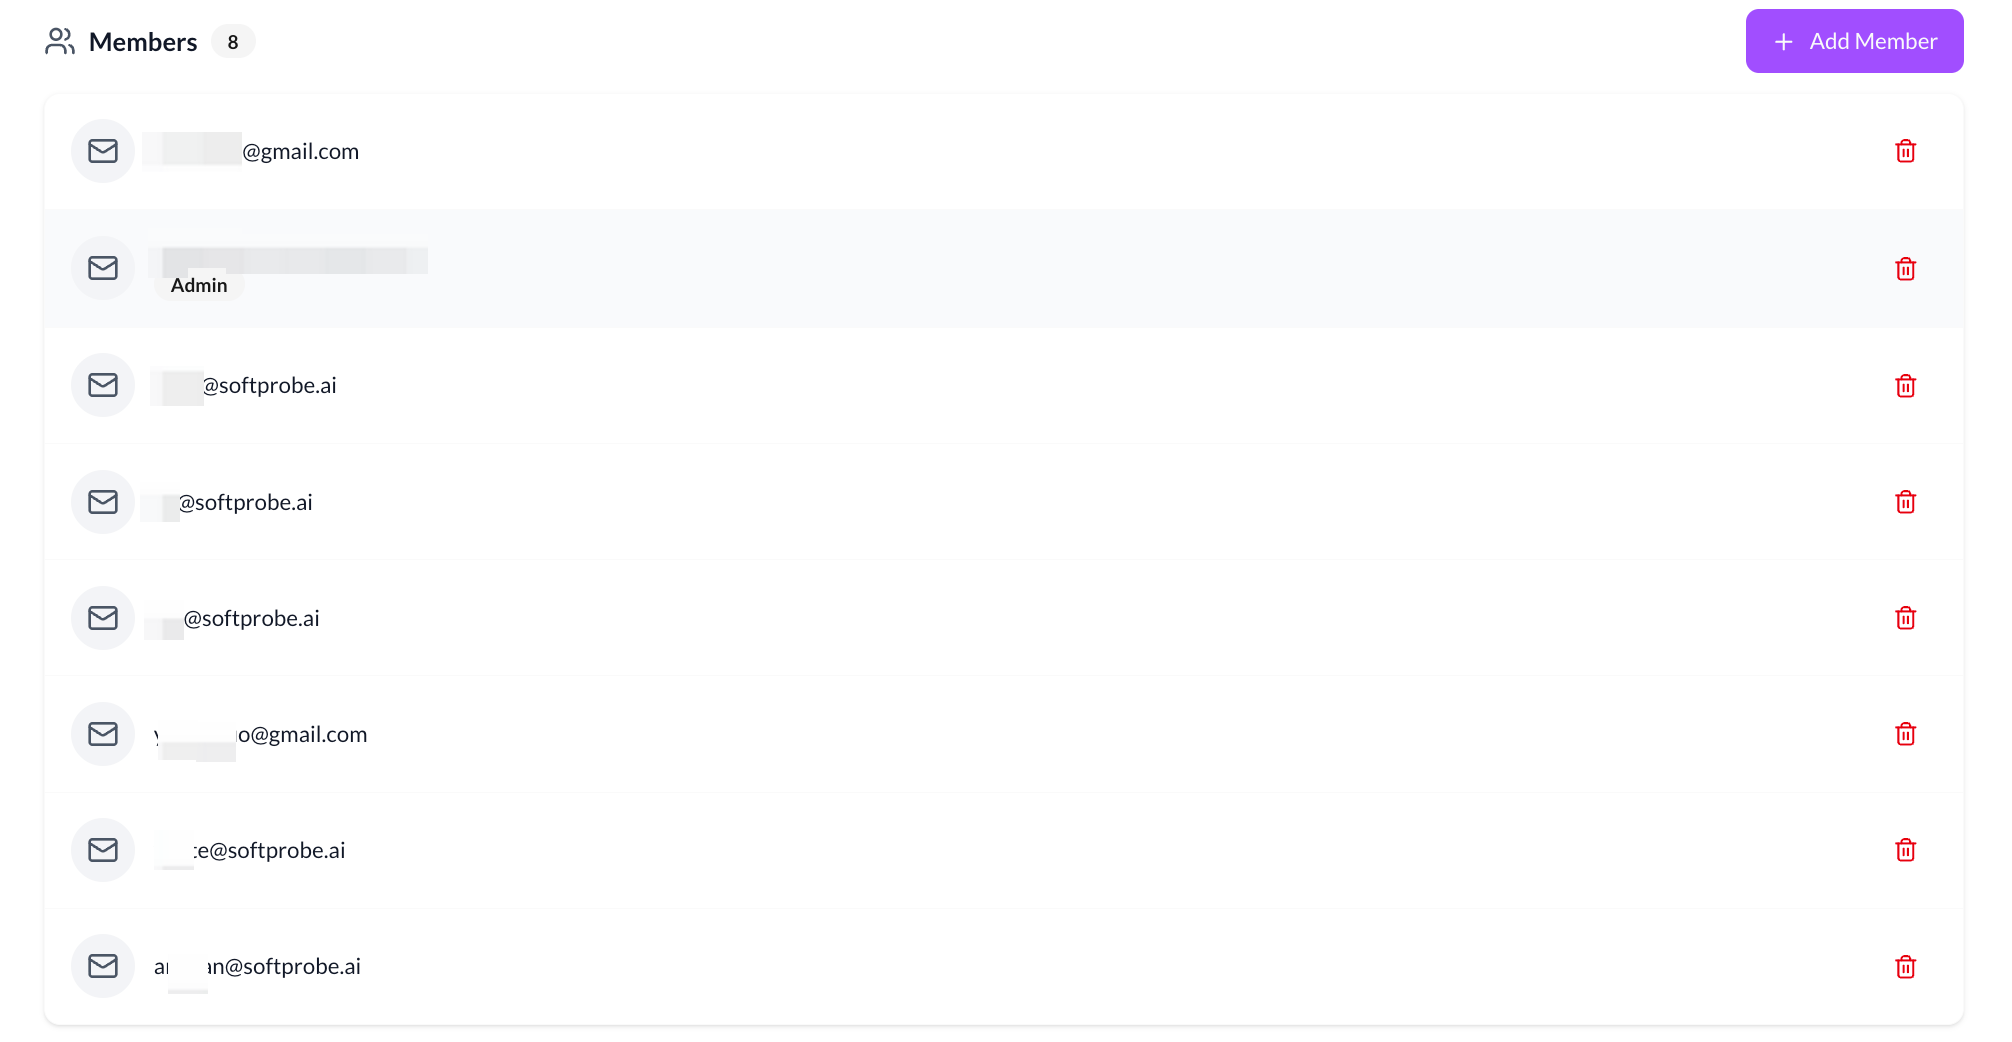
Adding Members
- Go to Tenant Settings → Member Management
- Click “Add Member”, enter email, choose role
- Roles: Administrator, Editor, Viewer
Role Permissions
- Administrator: Full control, manage members/settings, Public keys, dangerous ops
- Editor: Operate data and monitoring configs, cannot manage members/settings
- Viewer: Read-only access, suitable for report viewers
Quick reminder
If you need higher quotas or custom retention, contact support@softprobe.ai with your tenant id and expected workload.
See the FAQ for common questions, including data storage and security, mobile access, and export options.